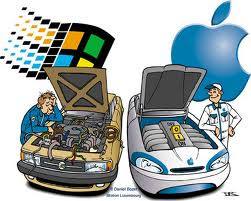
Here's how to get Windows 7 installed and running on your Mac using Boot Camp in just a few quick steps by following our simple installation guide.
Step 1: Buy a copy of Windows 7.
Step 2: Upgrade to Boot Camp 3.1.
Since previous versions of Boot Camp didn’t explicitly support Windows 7. The most recent version of Bootcamp includes full support for Windows 7, which should save you from all these headaches. Simply go to the Apple menu on your Mac and select Software Update, which will grab the latest version for you.
Step 3: Create a new partition for Windows 7.
You’ll need to create a new partition on your hard drive (or a separate partition on a separate hard drive) to install it.
Open Boot Camp Assistant by looking in the Utilities folder under Applications. The intuitive software will walk you through the process, just make sure to create an NTFS partition, since you won’t be able to install Windows 7 on any other type, and make it a minimum of 16GB. Keep in mind that you’ll want to install all your Windows software on the same partition.